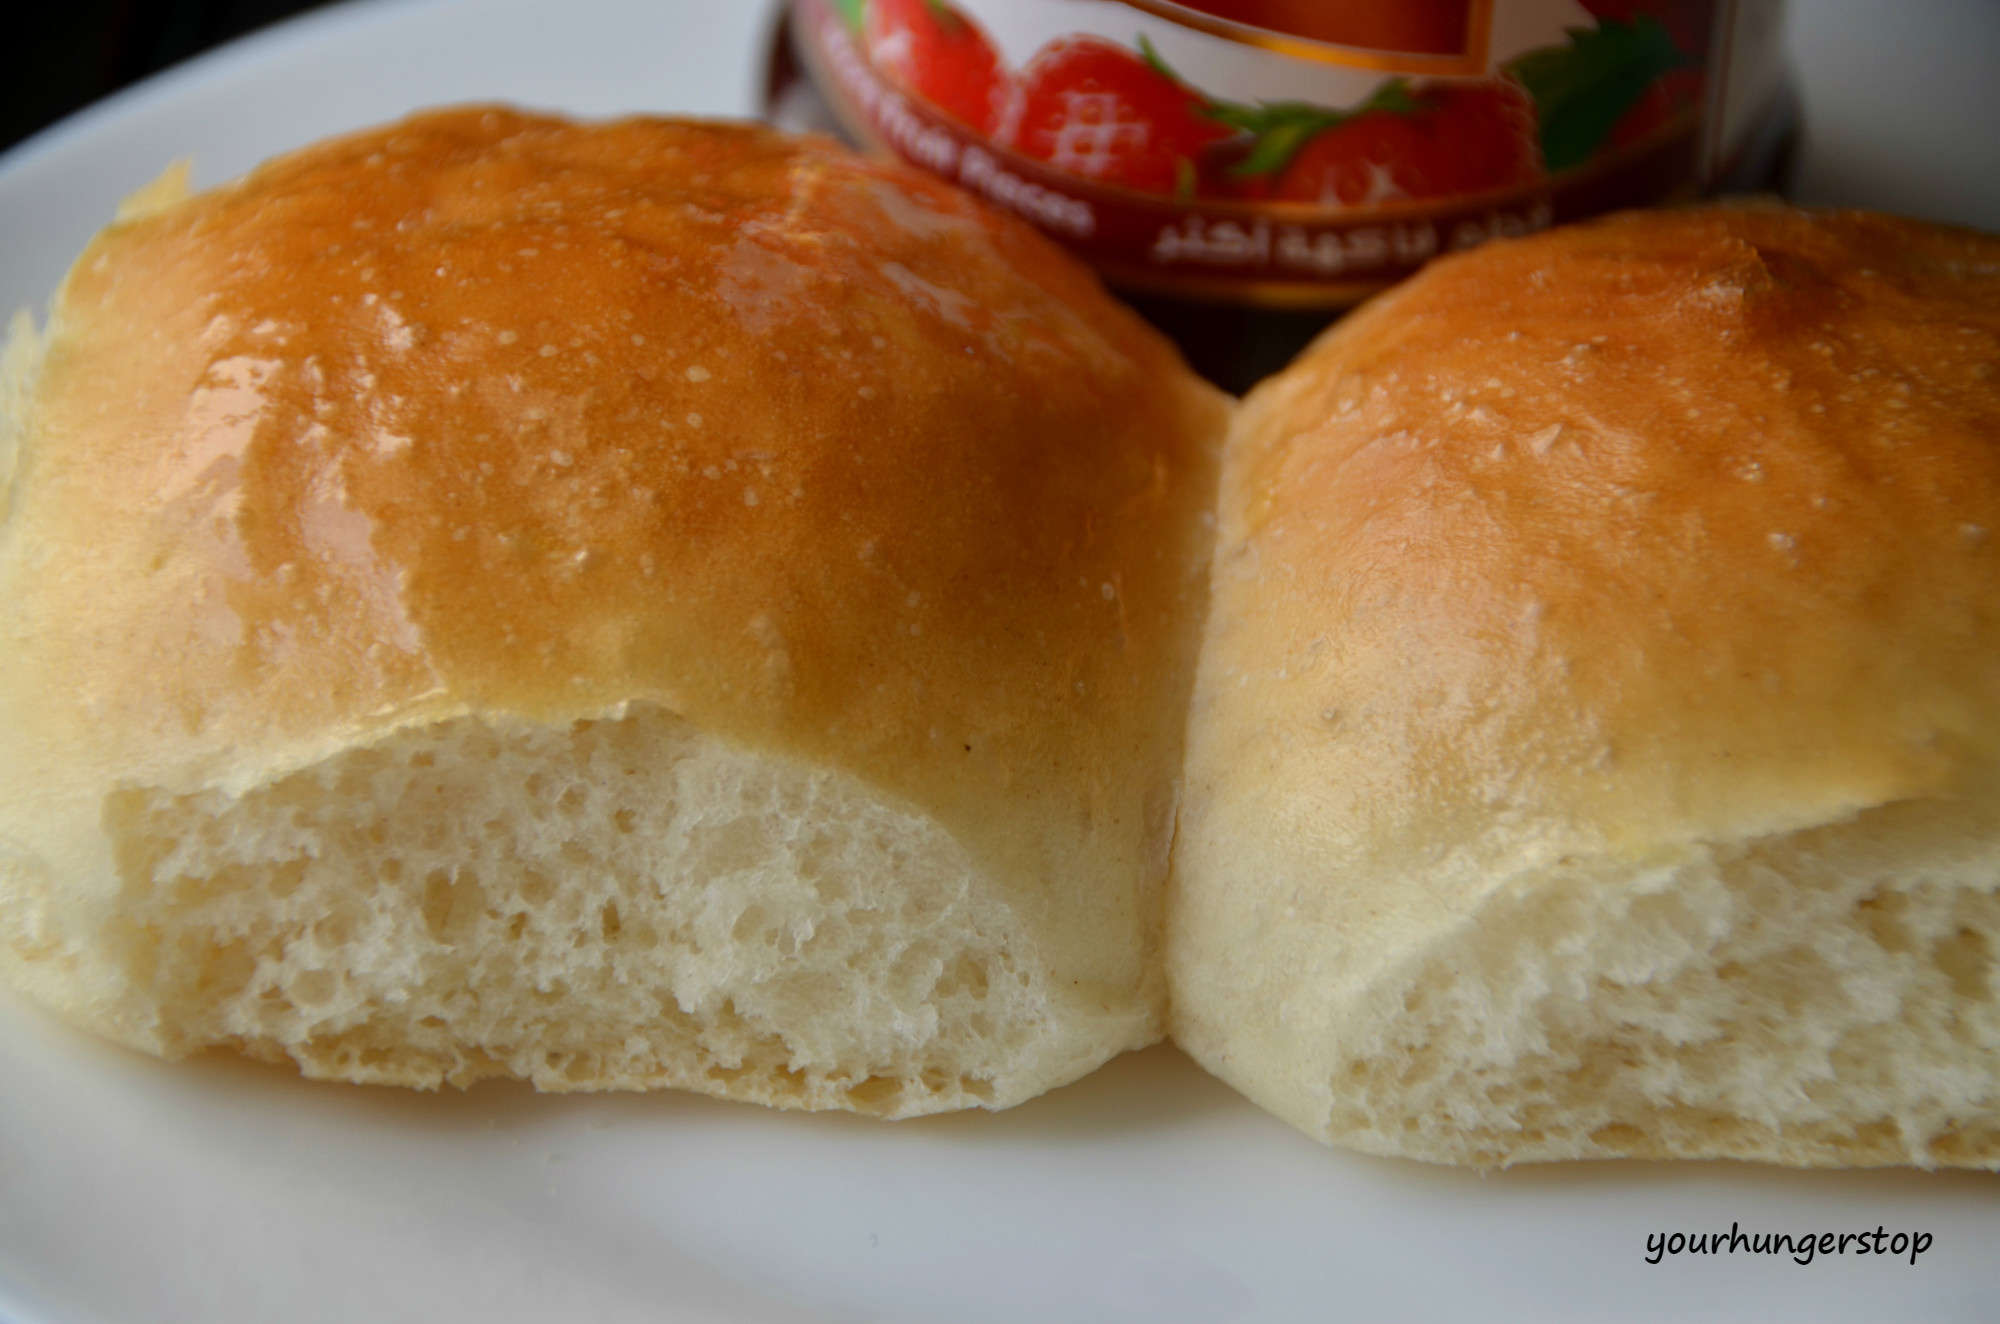
Pav or Pao is nothing but a bread roll usually served in India with Pav Bhaji, Misal Pav, Vada Pav. Also, it is very popular in Goa and is generally eaten with Goan specialties like Chicken Xacuti, Tonak.
Being away from home (Goa) for the past 10 years, I have realized that it is impossible to get the kind of Pav (Dinner Rolls) you get in Goa anywhere else. We have always longed for the Goan pav and missed the horn of the Poder (the man who goes around on the cycle selling Pav). Goans will know exactly what I mean 🙂
 Yes, I was missing Pav and I had to do something about it. After 2-3 unsuccessful attempts and improvisations after every attempt, I was able to make soft an fluffy pavs comparable to the ones you get in Goa.
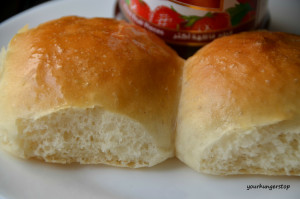
I cannot explain how wonderful it is to eat freshly baked pav out of the oven with a dollop of butter. With every attempt, I make some more improvisations to it and will keep updating the recipe accordingly. In fact after the success of making Pav, I have started making other verions of it including Potato Stuffed Buns, Chicken and Spinach Stuffed Buns, and pizza base for pizza. I am just loving it. 🙂
But for those who want to try Pav at home, go ahead and hope you get perfect Pav for your Pav Bhaji or to eat with Tonak(Goan curry) or Chicken Xacuti 🙂 Please let us know how they turn out and also share pictures if possible. Also, leave a comment in case of any confusion in the steps, and we will clarify it. After all, everyone deserves to eat good Pav 🙂
Makes: 12-16 Pav
Preparation Time: 2 hour 30 minutes
Cooking Time: 10 minutes
Ingredients:
All purpose flour : 3 and 1/2 cups
Water: 1 and 1/4 cup
Sugar: 3 tsp
Yeast: 3/4 tbsp active dry yeast
Oil/Melted butter: 3 tbsp
Salt: to taste
Method of Preparation:
- Take sugar and yeast in a bowl. Warm the water and add it to the bowl. I placed the water in the microwave for 15 seconds. The water should not feel too hot to touch.
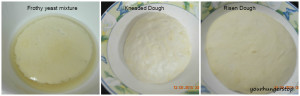
- Cover the bowl with a moist cloth and keep it aside for it to froth. Once it froths you know that the yeast has become active. (Look at the picture below) . I kept it for around 10-15 minutes for it to froth.
- Add oil/melted butter to the frothy yeast mixture and mix well. Add 3 cups of flour and salt and mix well.
- Knead the dough well for 10-15 minutes to form a soft dough. Don’t worry if the dough is sticky initially as it will start becoming more elastic as you keep kneading. Use max 1/2 cup of additional flour while kneading.
- Apply oil over the dough and keep closed with a moist cloth for 1 hour. The dough will nicely double up. You can keep it for more than an hour till it doubles up.
- Gently deflate the dough and knead again for 5 minutes.
- Make a log and divide into 12-16 parts depending on the size you want.
- Grease and dust a tray with a little flour.
- Take each part of the dough and make smooth round ball. Place all the balls in the tray at a distance of 1 inch from each other and also from the edges.

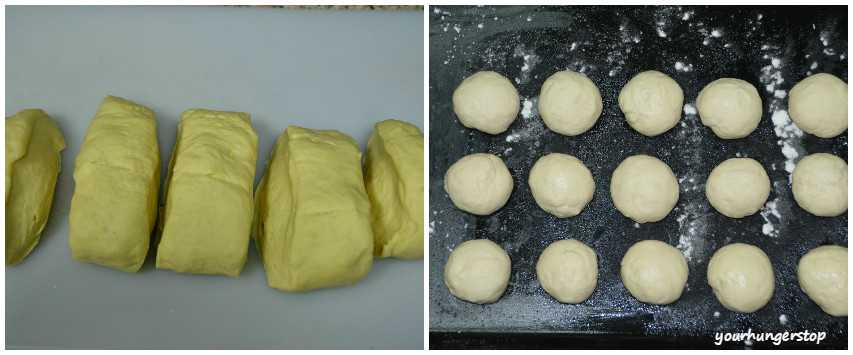
- Cover with moist cloth and keep aside for 45 minutes to 1 hour. The small rolls will increase in size. See the pic below. The dough balls have doubled in size and have dark air pockets formed. They are now ready to go into the oven 🙂

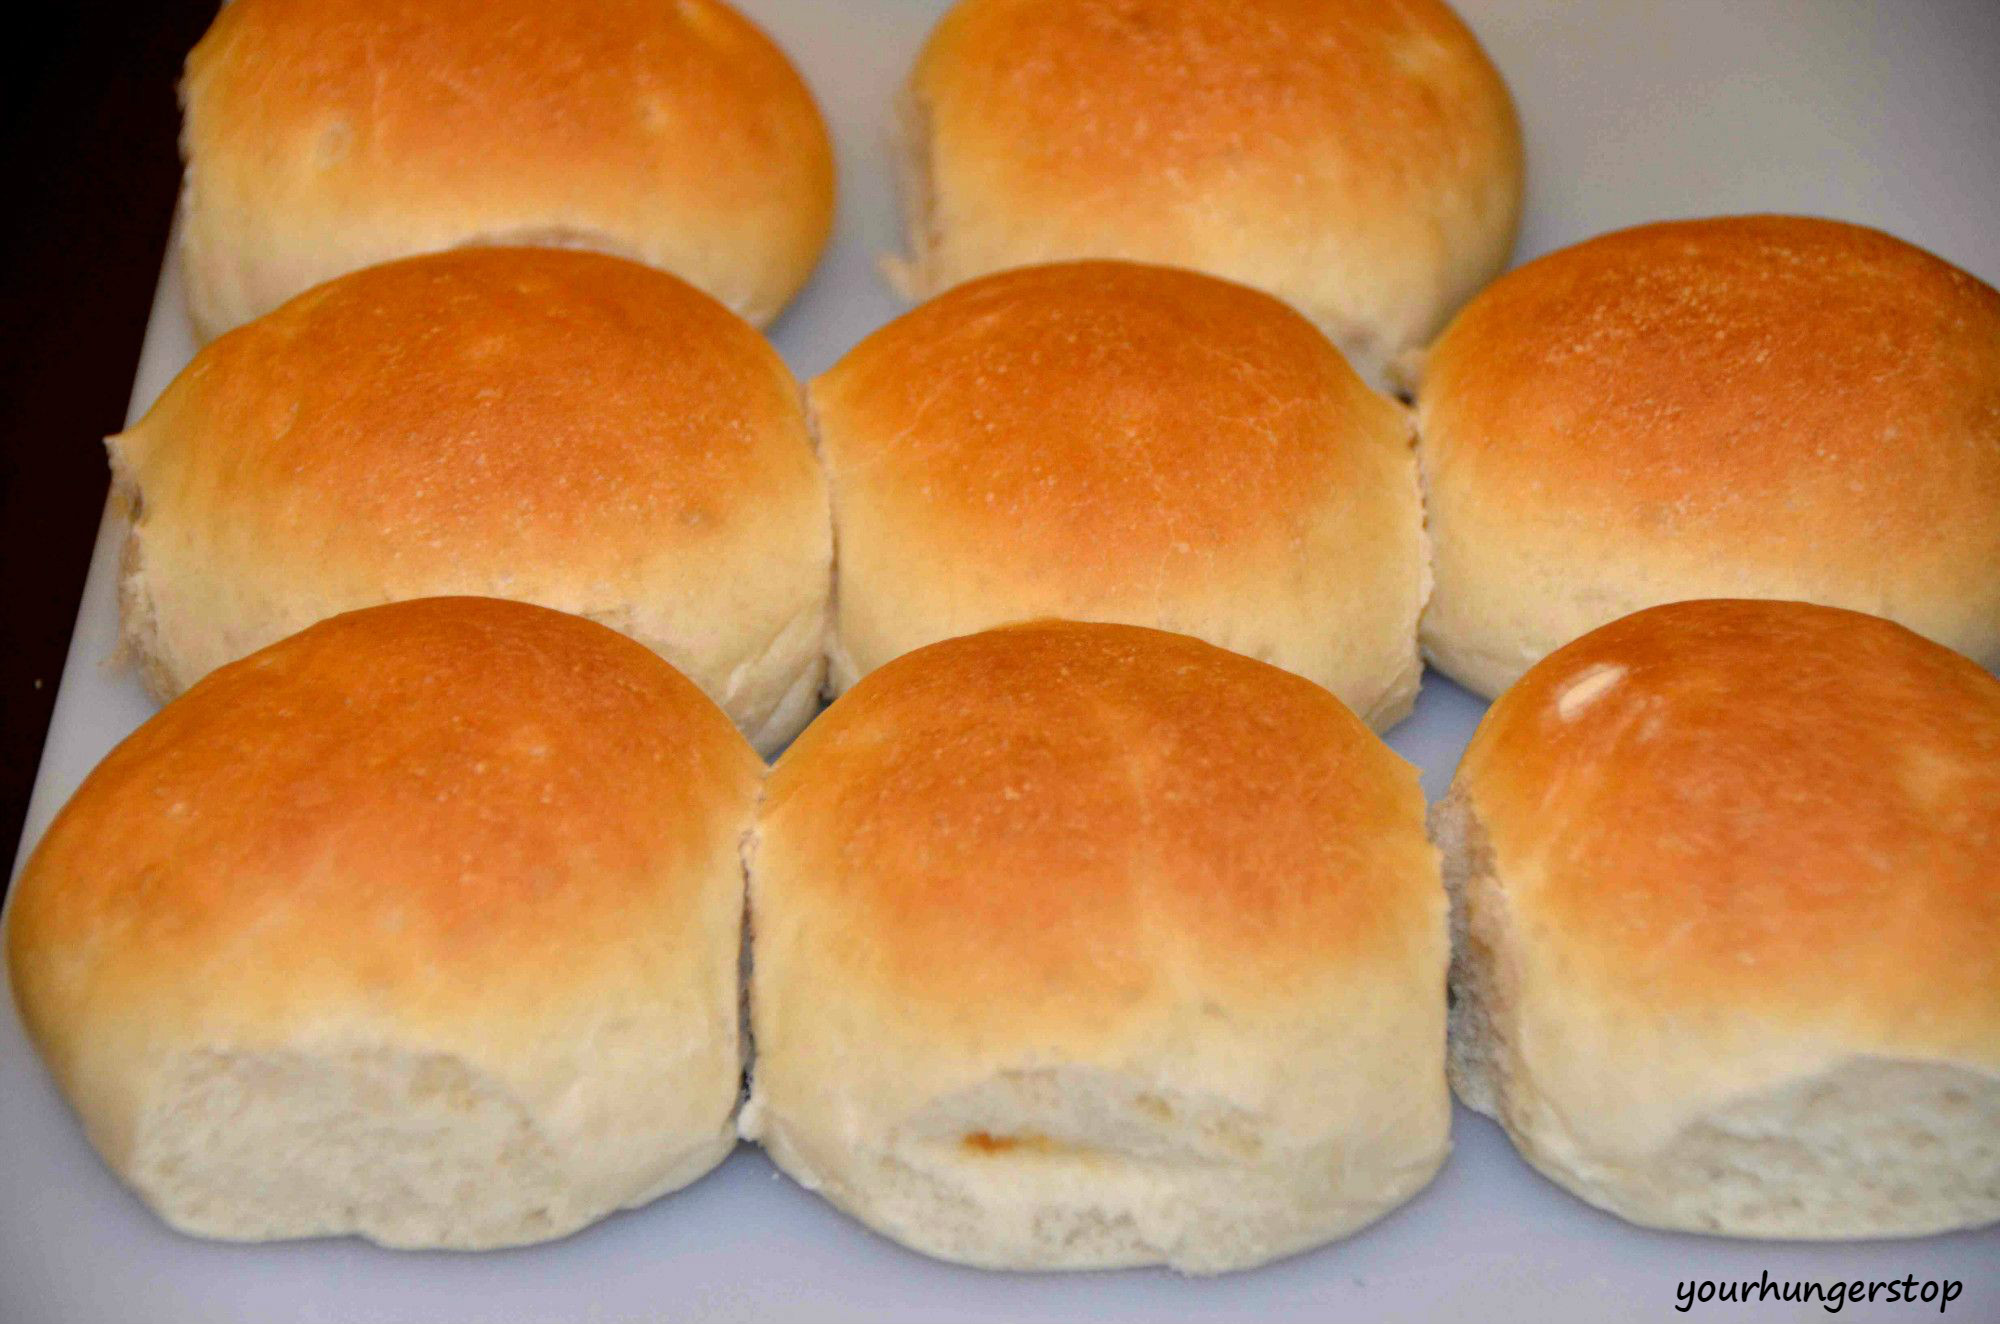
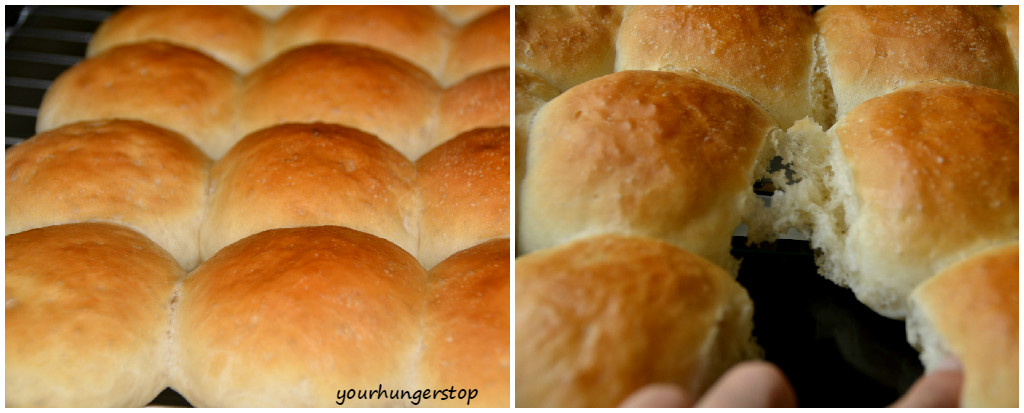
- Preheat the oven at 230 degrees Celsius. Place the tray in the oven and let bake for 8-10 minutes. You will see a nice brown colour appearing on top of the dinner rolls (Pav). Cool the pav on wire rack.
Common mistakes to avoid:
- Make sure that you do not use hot water with yeast and sugar as hot water would kill the yeast. Use warm water. I placed the water in the microwave for 15-20 seconds.
- To get good pav, kneading well is very important as kneading helps in developing of gluten in the pav and makes it stretchy and elastic. Well developed gluten is important to allow the carbon dioxide released by the yeast to be held within the dough helping it to rise.
- Use a tray which has a good height. When I made pav for the first time, my cloth got stuck to the risen dough and while separating the cloth from the tray, the dough got deflated 🙁
Pav
- All purpose flour : 3 and ½ cups
- Water: 1 and ¼ cup
- Sugar: 3 tsp
- Yeast: ¾ tbsp active dry yeast
- Oil/Melted butter: 3 tbsp
- Salt: to taste
- Take sugar and yeast in a bowl. Warm the water and add it to the bowl. I placed the water in the microwave for 15 seconds. The water should not feel too hot to touch.
- Cover the bowl with a moist cloth and keep it aside for it to froth. Once it froths you know that the yeast has become active. (Look at the picture below) . I kept it for around 10-15 minutes for it to froth.
- Add oil/melted butter to the frothy yeast mixture and mix well. Add 3 cups of flour and salt and mix well.
- Knead the dough well for 10-15 minutes to form a soft dough. Don’t worry if the dough is sticky initially as it will start becoming more elastic as you keep kneading. Use max ½ cup of additional flour while kneading.
- Apply oil over the dough and keep closed with a moist cloth for 1 hour. The dough will nicely double up. You can keep it for more than an hour till it doubles up.
- Gently deflate the dough and knead again for 5 minutes.
- Make a log and divide into 12-16 parts depending on the size you want.
- Grease and dust a tray with a little flour.
- Take each part of the dough and make smooth round ball. Place all the balls in the tray at a distance of 1 inch from each other and also from the edges.
- Cover with moist cloth and keep aside for 45 minutes to 1 hour. The small rolls will increase in size. See the pic below. The dough balls have doubled in size and have dark air pockets formed. They are now ready to go into the oven
- Preheat the oven at 230 degrees Celsius. Place the tray in the oven and let bake for 8-10 minutes. You will see a nice brown colour appearing on top of the dinner rolls (Pav). Cool the pav on wire rack.
To get good pav, kneading well is very important as kneading helps in developing of gluten in the pav and makes it stretchy and elastic. Well developed gluten is important to allow the carbon dioxide released by the yeast to be held within the dough helping it to rise.
Use a tray which has a good height. When I made pav for the first time, my cloth got stuck to the risen dough and while separating the cloth from the tray, the dough got deflated


")


Speak Your Mind